
【VSCode】Next.js、TypeScript、Sass、ESLint、Stylelint、Prettierで開発環境を作る手順

今回はVSCode上でNext.jsとTypeScript、ESLint、Prettier、Sass、Stylelintで開発環境を作る手順について説明します。
前提条件は以下
- 基本はcreat-next-appで作成
- srcディレクトリを使用する
- CSS Modulesを使用する
- テキストエディタはVSCode
開発環境は以下
- macOS Monterey 12.5.1
- Visual Studio Code v1.76.0
- Next.js v13.1.6
- React v18.2.0
- TypeScript v4.9.5
基本設定のパッケージをインストール
すでにVSCode上で環境構築したいディレクトリに移動している場合は、以下のコマンドでそのディレクトリにインストールできます。
npx create-next-app@latest ./ --typescript【next-typescript-starter】というディレクトリを作って、そのディレクトリにインストールする場合は以下です。
npx create-next-app@latest next-typescript-starter --typescriptコマンドを打つと以下のように質問されるので、順番に回答します。
個人的には作業するフォルダはsrcの中に含めたいので、2行目をYesにしています。
- プロジェクトにESLintを使用しますか? … はい
- プロジェクトにsrcディレクトリを使用します? … はい
- プロジェクトにappディレクトリを使用しますか? … いいえ
- importエイリアスには何が良いですか? … @/*
✔ Would you like to use ESLint with this project? … Yes
✔ Would you like to use `src/` directory with this project? … Yes
✔ Would you like to use experimental `app/` directory with this project? … No
✔ What import alias would you like configured? … @/*
インストールが完了すると、VSCode上では以下のように表示されているはずです。
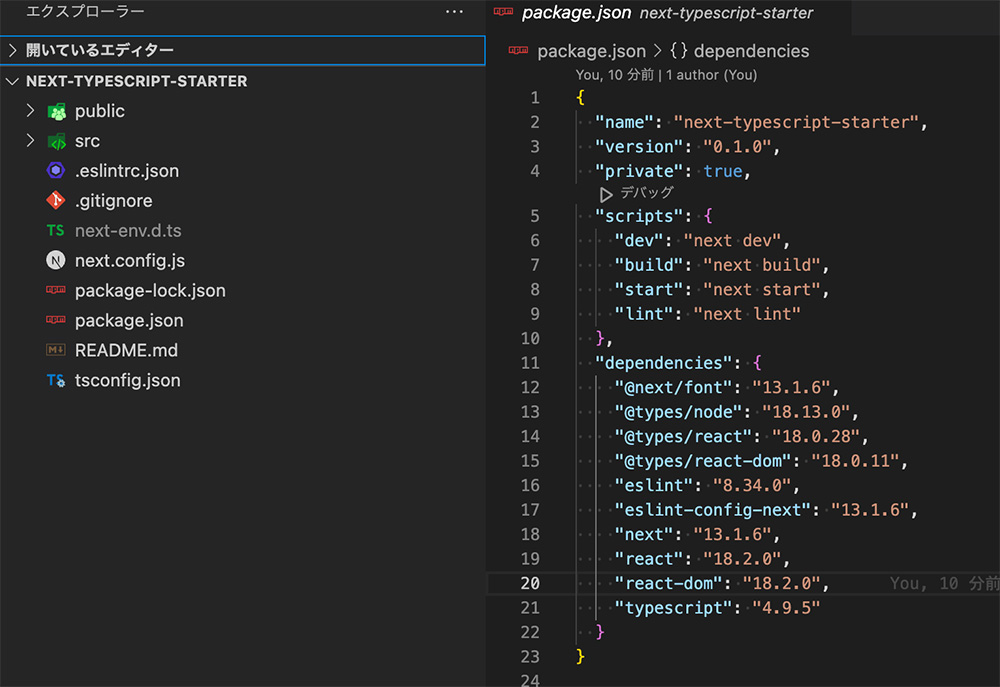
- @next/font… フォントの自動最適化
- @types/node … nodeの型を追加
- @types/react … Reactの型を追加
- @type/react-dom … Reactの型を追加
- eslint … ESLint本体
- eslint-config-next … ESLintにNext.jsのスタイルを追加
- next … Next.js本体
- react … Reactを追加
- react-dom … React-domを追加
- typescript … TypeScript本体
必要なパッケージを追加する
基本設定がインストールできたら、便利なパッケージを追加でインストールします。
今回は以下のパッケージを追加しています。
Sassのインストール
Next.jsではデフォルトでSassのCSS Modulesが使えますが、CSS Modules抜きでSassがつかえません。通常のSassが使えるようにインストールします。
npm i --save-dev sassそれからリセットCSSとして、ressもインストールしておきます(お好みで)。
読み込ませるのは_app.tsxでも良いですし、ベースとなるsassファイルに読み込ませてもOKです。
npm i --save-dev ressさらに要素に複数のクラスをつけたり、動的なクラスの使い分けができるようにclassnamesをインストールします。
npm i --save-dev classnamesNext.js用に型を設定する
TypeScriptの型をnext.js用に設定します。まずは以下のパッケージをインストールします。
npm i --save-dev @tsconfig/nextあとはすでにあるtsconfig.jsonに1行追加します。
{
  "extends": "@tsconfig/next/tsconfig.json",
  "compilerOptions": {
    "target": "es5",
    "lib": ["dom", "dom.iterable", "esnext"],
 //以下、省略してます
}
Prettierの設定
コードの整形用にPrettierをインストールします。
npm i --save-dev prettier それからESLintとprettierのルールが競合しないように以下のインストールしておきます。
npm i eslint-config-prettierprettierの設定を.prettierrc.jsのファイルを作成してお好きな設定を書きましょう。
以下は例です。
module.exports = {
  printWidth: 120, //1行の文字列を120文字にする
  singleQuote: true, //ダブルに代わりシングルクオーテーションを使う
  semi: true, //行末にセミコロンを追加
  trailingComma: 'all', //複数行の場合は可能な限り末尾のカンマを表示
  tabWidth: 2, //タグのスペース2 デフォルトは2
  useTabs: false, //スペースをタブに代える デフォルトはfalse
};
設定できるオプションについては以下をどうぞ。
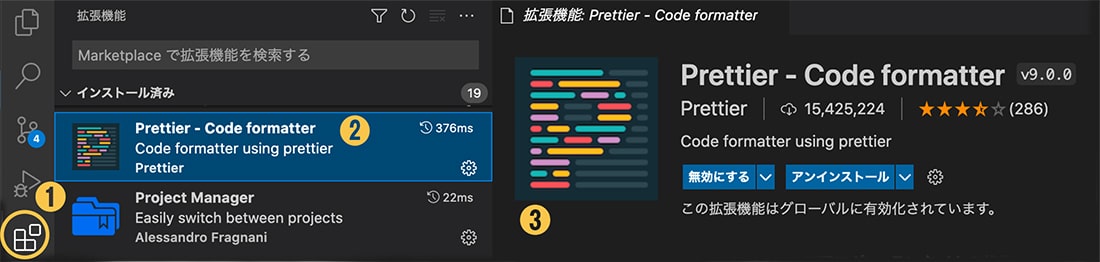
VSCode上でもPrettierが機能するように拡張機能をインストールしておきましょう。
ESLintの設定
基本設定の中にもnext.js用のeslintが入っていますが、整理用のパッケージを追加します。
- @typescript-eslint/eslint-plugin … TypScriptに特化したルールをESLintに追加
- eslint-plugin-sort-keys-fix … オブジェクトのキーの並び替え
- eslint-plugin-typescript-sort-keys … TypeScriptのインターフェイスのキーの並び替え
- eslint-plugin-unused-imports … 使っていないimportを自動で削除
npm i @typescript-eslint/eslint-plugin eslint-plugin-sort-keys-fix eslint-plugin-typescript-sort-keys eslint-plugin-unused-imports.eslintrc.jsonにESLintの設定を加えます。個人的にjsonファイルより、jsファイルのほうが書きやすいので、.eslintrc.jsに拡張子を変更して以下のように書いています。
module.exports = {
extends: ['plugin:@typescript-eslint/recommended', 'next/core-web-vitals', 'prettier'],
plugins: ['import', 'sort-keys-fix', 'typescript-sort-keys', 'unused-imports'],
rules: {
'import/order': [ //importの読み込み順のルール
'error',
{
groups: ['builtin', 'external', 'internal', 'parent', 'sibling', 'index', 'object', 'type'],
pathGroups: [
{
pattern: '{react,react-dom/**,react-router-dom}',
group: 'builtin',
position: 'before',
},
{
pattern: '@src/**',
group: 'parent',
position: 'before',
},
],
pathGroupsExcludedImportTypes: ['builtin'],
alphabetize: {
order: 'asc',
},
'newlines-between': 'always',
},
],
'import/no-duplicates': 'error', // 同じモジュールから複数の変数をインポートしている場合、エラーを出す
'@next/next/no-img-element': 'off', // Next.jsで<img>要素を使用しても警告を出さないようにする
'react/jsx-sort-props': 'error', // JSXの属性をアルファベット順にソート
'sort-keys-fix/sort-keys-fix': 'error', // オブジェクトのキーをアルファベット順に自動でソート
'typescript-sort-keys/interface': 'error', // TypeScriptのインターフェースのキーをアルファベット順に自動でソート
'unused-imports/no-unused-imports': 'error', // 使っていないimportは削除
// アロー関数のみ許容(お好みで)
// 'react/function-component-definition': [
// 2,
// {
// namedComponents: 'arrow-function',
// unnamedComponents: 'arrow-function',
// },
// ],
'no-param-reassign': [2, { props: false }], //パラメーターのプロパティ変更を許可
'@typescript-eslint/consistent-type-imports': ['error', { prefer: 'type-imports' }], //型はimport typeで表示
},
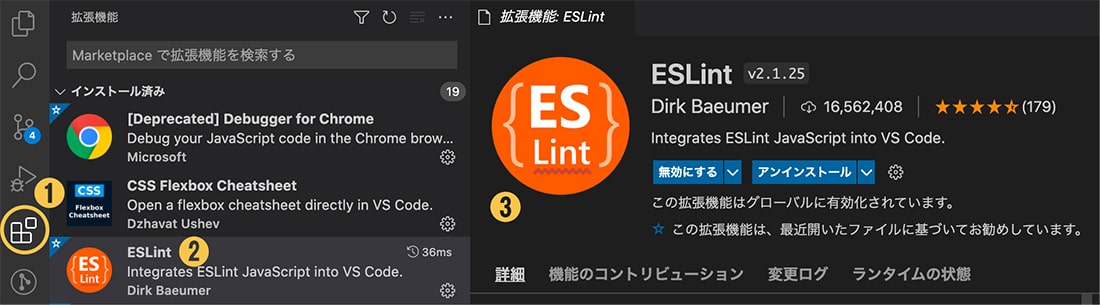
};VSCode上でもESLintが機能するように拡張機能をインストールしておきます。
ESLintを適用させたくないファイルやディレクトリがある場合は、.eslintignoreファイルを作成して設定しておきましょう。以下では例です。
build/
public/
**/node_modules/
*.config.js
.*lintrc.js
/*.*
Stylelintのインストール
StylelintはCSSとSass側のエラーの発見やプロパティの並び替えも行ってくれます。
以下をインストールします。
npm i --save-dev stylelint stylelint-scss stylelint-config-recess-order stylelint-config-standard stylelint-config-recommended-scssプロジェクトの直下に.stylelintrc.jsを作成して設定を書きます。
module.exports = {
extends: ['stylelint-config-recess-order', 'stylelint-config-recommended-scss', 'stylelint-config-standard'],
rules: {
'selector-class-pattern': '^[a-z][a-zA-Z0-9-]+$', //クラス名にキャメルケースも許容
'selector-id-pattern': '^[A-Z][a-zA-Z0-9_-]+$', //id名にキャメルケースも許容
'color-function-notation': 'legacy',
'function-no-unknown': [
true, //map.getやcolor.scaleがエラーにならないように
{
ignoreFunctions: ['/^map\\..+/', '/^color\\..+/'],
},
],
'at-rule-empty-line-before': [ //余白、改行の設定
'always',
{
except: ['blockless-after-blockless', 'first-nested'],
ignore: ['after-comment'],
ignoreAtRules: ['else'],
},
],
'at-rule-no-unknown': null, // 不明な@規則を禁止を無効
'scss/at-rule-no-unknown': true, // Scssのデフォルト関数以外は引っかかるようにする
'scss/dollar-variable-pattern': '^(([a-z][a-zA-Z0-9_]+)|([a-z][a-z0-9]*)(-[a-zA-Z0-9_]+)*)$', // 互換性のためケバブケース強制は除去
'scss/at-mixin-pattern': '^(([a-z][a-zA-Z0-9_]+)|([a-z][a-z0-9]*)(-[a-zA-Z0-9_]+)*)$', // 互換性のためケバブケース強制は除去
},
ignoreFiles: ['**/node_modules/**'],
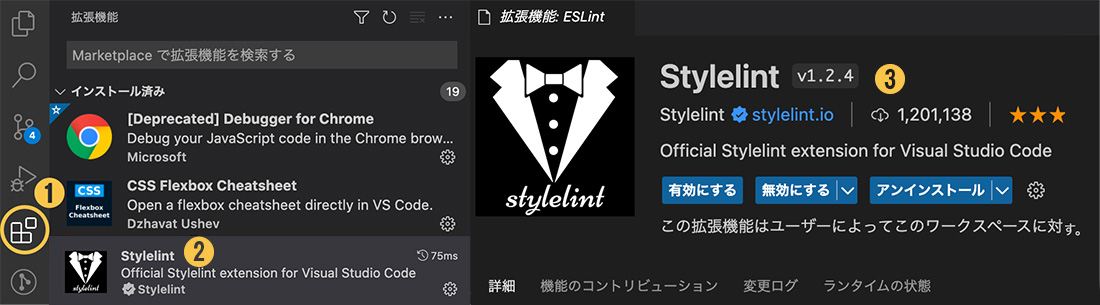
};VSCode上でStylelintがチェックしてくれるように拡張機能を入れておきます。
Lint系コマンドを追加する
package.jsonにLint系のコマンドを追加します。
"scripts": {
  "dev": "next dev",
  "build": "next build",
  "start": "next start",
  "lint": "next lint --ignore-path .gitignore",
  "lint:fix": "next lint --ignore-path .gitignore --fix",
  "lint:style": "stylelint --ignore-path .gitignore './**/*.{css,scss}'",
  "lint:style:fix": "stylelint --ignore-path .gitignore --fix './**/*.{css,scss}'",
  "format": "prettier --write --ignore-path .gitignore './**/*.{js,jsx,ts,tsx,json,css,scss}'"
},
VSCode上の設定
VSCode上の設定をします。
プロジェクト直下に.vscodeというフォルダを作り、その中にsettings.jsonを作成して以下を追加します。
{
  "editor.defaultFormatter": "esbenp.prettier-vscode", //フォーマットはprettierでする
  "editor.formatOnSave": true, //ファイルを保存したタイミングでフォーマットする
  "editor.codeActionsOnSave": {
    "source.fixAll.eslint": true, //保存するたびにESLint実行
    "source.fixAll.stylelint": true //保存するたびにStyleLint実行
  },
  "stylelint.validate": ["css", "scss"],  //styleLintはcssとscssファイルのみ
  //↓VSCodeデフォルトのフォーマットは無効
  "css.validate": false,
  "scss.validate": false,
  "javascript.validate.enable": false,
  "typescript.validate.enable": false
}
エラーチェックにはESLintとStylelintを使い、フォーマットにはデフォルトでPrettierを使用する設定です。ファイルをセーブしたタイミングでコードを整形してくれます。
最終的なpackage.jsonの中身
※説明したパッケージ以外に、headのmeta情報をページごとに設定できるnext-seoというパッケージを入れています。
{
"name": "next-typescript-starter",
"version": "0.1.0",
"private": true,
"scripts": {
"dev": "next dev",
"build": "next build",
"start": "next start",
"lint": "next lint --ignore-path .gitignore",
"lint:fix": "next lint --ignore-path .gitignore --fix",
"lint:style": "stylelint --ignore-path .gitignore './**/*.{css,scss}'",
"lint:style:fix": "stylelint --ignore-path .gitignore --fix './**/*.{css,scss}'",
"format": "prettier --write --ignore-path .gitignore './**/*.{js,jsx,ts,tsx,json,css,scss}'",
},
"dependencies": {
"@next/font": "13.1.6",
"@types/node": "18.13.0",
"@types/react": "18.0.28",
"@types/react-dom": "18.0.11",
"classnames": "^2.3.2",
"eslint": "8.34.0",
"eslint-config-next": "13.1.6",
"eslint-config-prettier": "^8.6.0",
"eslint-plugin-sort-keys-fix": "^1.1.2",
"eslint-plugin-typescript-sort-keys": "^2.1.0",
"eslint-plugin-unused-imports": "^2.0.0",
"next": "13.1.6",
"next-seo": "^5.15.0",
"react": "18.2.0",
"react-dom": "18.2.0",
"typescript": "4.9.5"
},
"devDependencies": {
"@tsconfig/next": "^1.0.5",
"@typescript-eslint/eslint-plugin": "^5.54.0",
"prettier": "^2.8.4",
"ress": "^5.0.2",
"sass": "^1.58.1",
"stylelint": "^15.1.0",
"stylelint-config-recess-order": "^4.0.0",
"stylelint-config-recommended-scss": "^9.0.1",
"stylelint-config-standard": "^30.0.1",
"stylelint-scss": "^4.4.0"
}
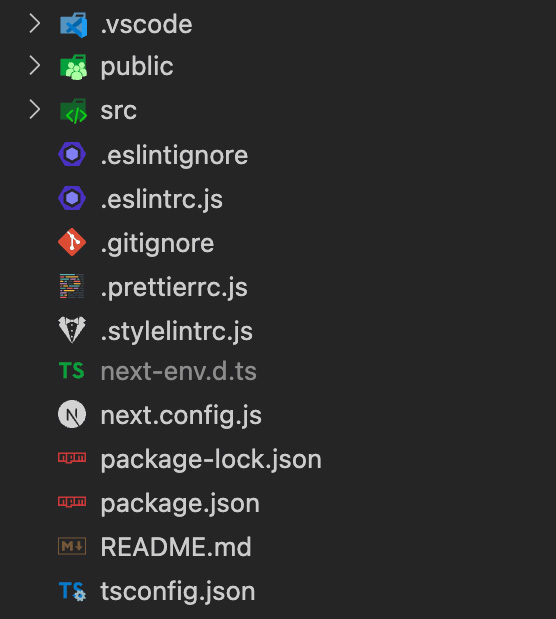
}最終的なディレクトリ構造とファイルの種類
設定ができていると以下のような構造になっているはずです。
さいごに
今回はVSCode上でNext.jsとTypeScript、ESLint、Prettier、Sass、Stylelintで開発環境を作る手順について説明しました。
create-next-appだけでは開発環境がすべて整うわけではなく、プロジェクトに合わせて設定する必要があります。ESLintやStylelintはプロジェクトに品質を保つために厳しい設定を選びましょう。


で手書き文字をトレースして書き出す方法")


