
背景画像をズームアップしながらフェードで切り替えるスライダー - Swiperで実装する方法
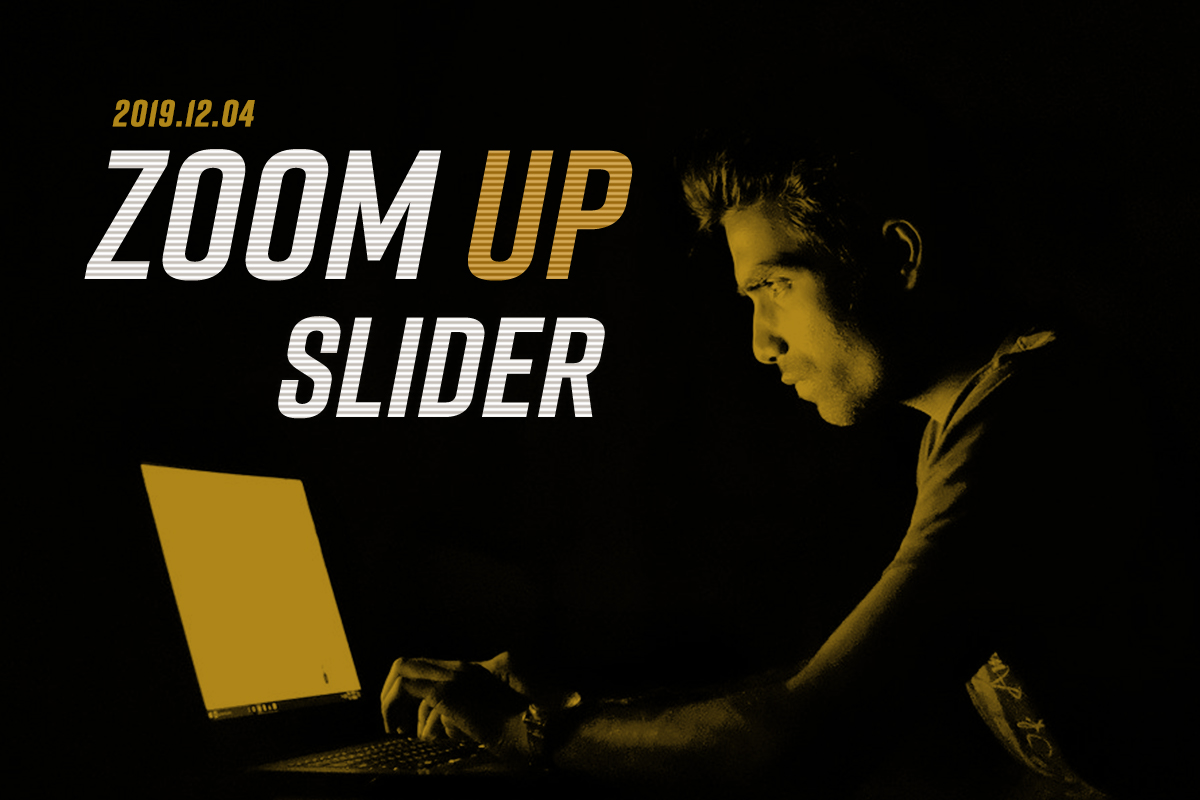
今回は背景画像をズームアップさせながらフェードで切り替えるスライダーを、Swiperを使って実装します。Swiperなどのプラグインを使わなくても実現できますが、ページネションの設定や1ページに複数スライダーを配置することを考えるとプラグインを使ったほうが手軽です。
設定条件は以下
- jQueryは使わない
- Swiperのバージョンは8系を使用する
説明環境は以下
- macOS Monterey 12.5.1
- Visual Studio Code v1.73.1
※2023.01.06追記
Swiperのバージョンを8系に変更しました。
背景画像をズームアップしながらフェードで切り替えるスライダーを実装する
Swiper自体にはズームアップしながらフェードする機能がありません。そこでCSSを使ってズームアップ機能を追加します。
Swiperのファイルを読み込む
今回はCDNを使ってSwiperに必要なファイルを読み込みます。
<link rel="stylesheet" href="https://cdn.jsdelivr.net/npm/swiper@8/swiper-bundle.min.css"/>
<script src="https://cdn.jsdelivr.net/npm/swiper@8/swiper-bundle.min.js"></script>
HTMLに書くこと
Swiperを使用するときにデフォルトで必要なclass名は以下の3つです。
- swiper-container
- swiper-wrapper
- swiper-slide
今回はズームアップさせるために、swiper-imgを独自に追加しています。
<div class="swiper-container">
  <div class="swiper-wrapper">
     <!-- 背景画像1 -->
     <div class="swiper-slide">
        <div class="swiper-img" style="background-image: url('./images/swiper-img01.jpg');"></div>
     </div>
     <!-- 背景画像2 -->
     <div class="swiper-slide">
        <div class="swiper-img" style="background-image: url('./images/swiper-img01.jpg');"></div>
     </div>
     <!-- 背景画像3 -->
     <div class="swiper-slide">
       <div class="swiper-img" style="background-image: url('./images/swiper-img01.jpg');"></div>
     </div>
  </div>
  <!-- 丸いページネーション -->
  <div class="swiper-pagination"></div>

  <!-- 左右のナビゲーション -->
  <div class="swiper-button-prev"></div>
  <div class="swiper-button-next"></div>
</div>
CSSに書くこと
8秒かけてズームさせて、600pxの高さに背景画像を表示させる設定です。
@-webkit-keyframes zoomUp {
  0% {
      -webkit-transform: scale(1);
      transform: scale(1);
  }
  100% {
      -webkit-transform: scale(1.15);
      transform: scale(1.15);
  }
}

@keyframes zoomUp { /* 1.15倍させる指定 */
  0% {
      -webkit-transform: scale(1);
      transform: scale(1);
  }
  100% {
      -webkit-transform: scale(1.15);
      transform: scale(1.15);
  }
}
swiper-container{
  position: relative;
}
.swiper-slide {
  overflow: hidden;
  -webkit-backface-visibility: hidden;
  backface-visibility: hidden;
}

.swiper-slide-active .swiper-img,
.swiper-slide-duplicate-active .swiper-img,
.swiper-slide-prev .swiper-img { /* 8秒かけて拡大させる */
    -webkit-animation: zoomUp 8s linear 0s;
    animation: zoomUp 8s linear 0s;
    -webkit-animation-fill-mode: both;
    animation-fill-mode: both;
}

.swiper-img {
    background-size: cover;
    background-position: center center; /* 背景画像は中央を軸に表示させる */
    height: 600px; /* 600pxの高さで表示させる */
}
JavaScriptsに書くこと
window.addEventListener('load', () => {
    const elem = document.querySelector('.swiper-container');
    if (elem === null) return;
    const swiperParams = {
      loop: true, // ループさせる
      effect: 'fade', // フェードのエフェクト
      autoplay: {
        delay: 4000, // 4秒後に次の画像へ
        disableOnInteraction: false, // ユーザー操作後に自動再生を再開する
      },
      speed: 2000, // 2秒かけながら次の画像へ移動
      allowTouchMove: false, // マウスでのスワイプを禁止
      navigation: {
        // 左右のページ送りを有効にする
        nextEl: '.swiper-button-next',
        prevEl: '.swiper-button-prev',
      },
      pagination: {
        // 円形のページネーションを有効にする
        el: '.swiper-pagination',
        clickable: true, // クリックを有効にする
      },
    };
    const swiper = new Swiper('.swiper-container', swiperParams);
  });
ページネーションとナビゲーションの色を変えたい場合は?
丸型のページネーションや左右のページ送りは、デフォルトでは青色の矢印になっています。この色を変更するためには.p-swiper-containerの要素に以下のようにstyleを追加する必要があります。
以下は白色に変更した例です。
<div class="p-swiper-container" style="--swiper-navigation-color: #fff; --swiper-pagination-color: #fff">
    <!-- Additional required wrapper -->
    <div class="swiper-wrapper">
<!-- 以下省略 -->
1ページにスライダーを複数使いたい場合は?
1ページに違うエフェクトのスライダーを複数使う場合はjsに以下のように書きます。パラメーターの書き方は一緒です。
let mySwiper01 = new Swiper(".swiper01", {
  // パラメーターの指定の仕方は一緒なので省略

});

let mySwiper02 = new Swiper(".swiper02", {
  // パラメーターの指定の仕方は一緒なので省略

});
HTMLに書くところも少しだけ変わります。swiper-containerのクラス名のところにjsに書いたswiper01、swiper02をそれぞれ追加します。
<div class="swiper-container swiper01">
   <!-- この中に書く内容は一緒なので省略 -->

</div>

<div class="swiper-container swiper02">
   <!-- この中に書く内容は一緒なので省略 -->

</div>
この設定で1ページにそれぞれ違うエフェクトのスライダーを実装できます。
背景画像の中にテキストを入れたい場合は?
背景画像の上にテキストを乗せることもできます。swiper-slideの中を以下のようにします。
<div class="swiper-slide">
     <div class="swiper-img" style="background-image: url('./images/swiper-img01.jpg');" ></div>
     <div class="swiper-text">
         <p>ここにテキスト</p>
     </div>
</div>
テキストを中央表示する場合はcssを以下のようにします。フォントサイズや色は好きなものに変更しましょう。
.swiper-text {
      position: absolute;
      z-index: 10;
      font-size: 4rem;
      color: #fff;
      width: 100%;
      top: 45%;
      text-align: center;
      font-weight: bold;
}
さいごに
今回は背景画像をSwiperを使ってズームアップしながらフェードさせるスライダーを紹介しました。背景画像だけではなく通常の画像としても同じようにズームさせることが可能です。
Swiperを使って違うエフェクトを試したい方は以下のリンクからパラメーターが見れます。
Swiperを使ったスライダーについては、他の記事にも書いているので興味のある方はどうぞ。


で手書き文字をトレースして書き出す方法")

